Stripe Credentials
Introduction
There are two options available to configure Stripe credentials.
The quickest and easiest solution would be to use our white-label credentials, which have already been created and verified. This requires nothing from you, and will simply be inputted by us into your brand configuration. By using our credentials, it should be noted that when the site owner connects to Stripe for the first time, the company name they will be presented with will be our white label name of ‘Website Builder Software’.
Alternatively, you can choose to set up your own Stripe credentials and provide us with them to be entered into your brand configuration. Please note that setting up these credentials will be your responsibility, and we are unable to do this on your behalf. If you choose to create your credentials please follow the below instructions.
Account types
There are two types of account for Stripe when setting up eCommerce; Environmental and Store Owner.
Environmental
- Each environment requires a top level account to provide API/client details which provides access to the payment provider’s API.
- This account is also used to configure partner branding.
- No monetary transactions are made through this account.
- This guide details how to create the credentials for this type of account to enable store owners to set up their Stripe account.
Store owner
- Each store requires a Stripe account to be linked to provide access to the Stripe payment gateway for transactions.
- The store owner is required to have at least one payment provider setup before they can open their store for trading.
Steps
-
Create Stripe account at https://dashboard.stripe.com/
-
Once your account has been created go to Account Settings located in the Your Account menu.

Click 'Account Settings'
-
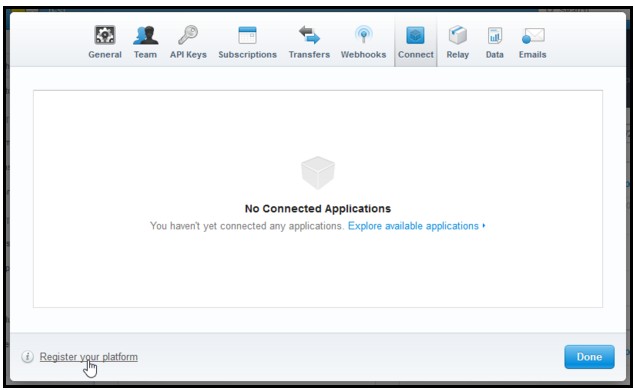
You’ll be taken to the General page of your Account settings. Click Connect.
-
Click Register your platform.

Click 'Register your platform'
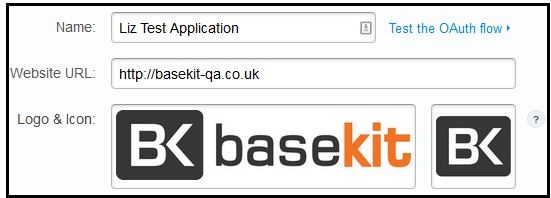
- In the Platform settings page enter Name, Website URL and Logo and Icon. These will be seen when the site owner connects to Stripe from the site editor. To check how this will look, click on Test the OAuth flow.

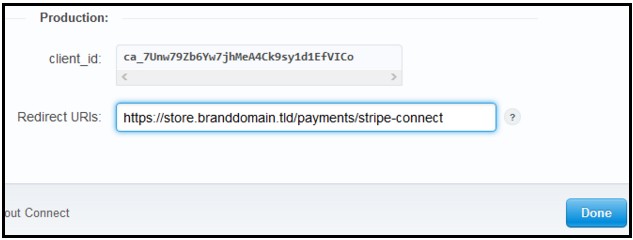
- Enter your brand domain into the Redirect URIs field in the Production section on the same page. Format entered needs to be: https://store.yourbranddomainhere.tld/payments/stripe-connect.
Note: One stripe account can be given multiple redirect URIs. If it needs to cover more than one brand, separate each URL with a comma. If applicable, also enter your staging domain in to the Redirect URI field in the same format.

-
Click Done once complete. You’ll be taken to your Dashboard .
-
To find your Stripe credentials go to Account Settings.

- Select Connect.

-
Go to the Production section, and enter the client_id into the Stripe ID field in the Basekit brand form.
-
Go to API keys in Account Settings.

- Enter the Live Secret Key into the Stripe Secret field in your BaseKit brand form.
PCI Compliance
Stripe’s stance on PCI compliance is:
“You can rely on Stripe to cover your PCI compliance requirements so long as all the following are true:
-
Your integration with Stripe uses Stripe.js, and doesn't pass card numbers via any non-Stripe servers.
-
The checkout page where customers enter their payment details is secured via SSL.
-
You don't collect card details via any other method.
So long as your Stripe integration follows our recommendations above, customer card details are never stored, processed or transmitted via your own servers. You therefore remain eligible for the simplest form of PCI compliance, effectively outsourcing all your responsibilities to Stripe.
If you require any more information, you may find it useful to include that Stripe is certified as a Level-1 compliant PCI service provider.”
You may also find the following links helpful:
Updated less than a minute ago
